As it becomes more common for a home to have more than one computer, the need to quickly and easily access shared network drives becomes more important. Additionally, network hard drives are more easily available and at lower costs that allow multiple computers to write to and share information with others on their home networks. For example, this
2 TB Network Hard Drive is quick and easy to setup on a network and comes with a large 2TB hard drive.
The process to mount a network drive in
OS X is quick and simple.
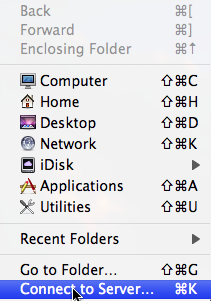
- First you’ll need to mount a network drive. Select Finder and then GO from the menu bar. Select “Connect to Server…”
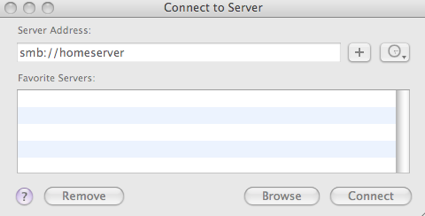
- Enter the location of the network drive (if its on a Windows PC, it will be an SMB shared folder) and click connect. Depending on your sharing settings, you may need to enter a username and password to connect to the network drive.
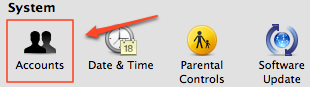
- After the drive is mounted, it should appear on your desktop. Open System Preferences and Select Accounts
- Next, select your user account and then the Login Items tab. Select the network drive that is mounted to your desktop and drag it to the Login Items window in System Preferences >> Accounts.
- Check the Hide box if you don’t want the window of the mounted drive to open in Finder on each boot up
Your network drive should now mount to your desktop each and every time you login to your Mac. If your network drive is not available, the start up time may take a bit longer as your Mac looks for the drive.